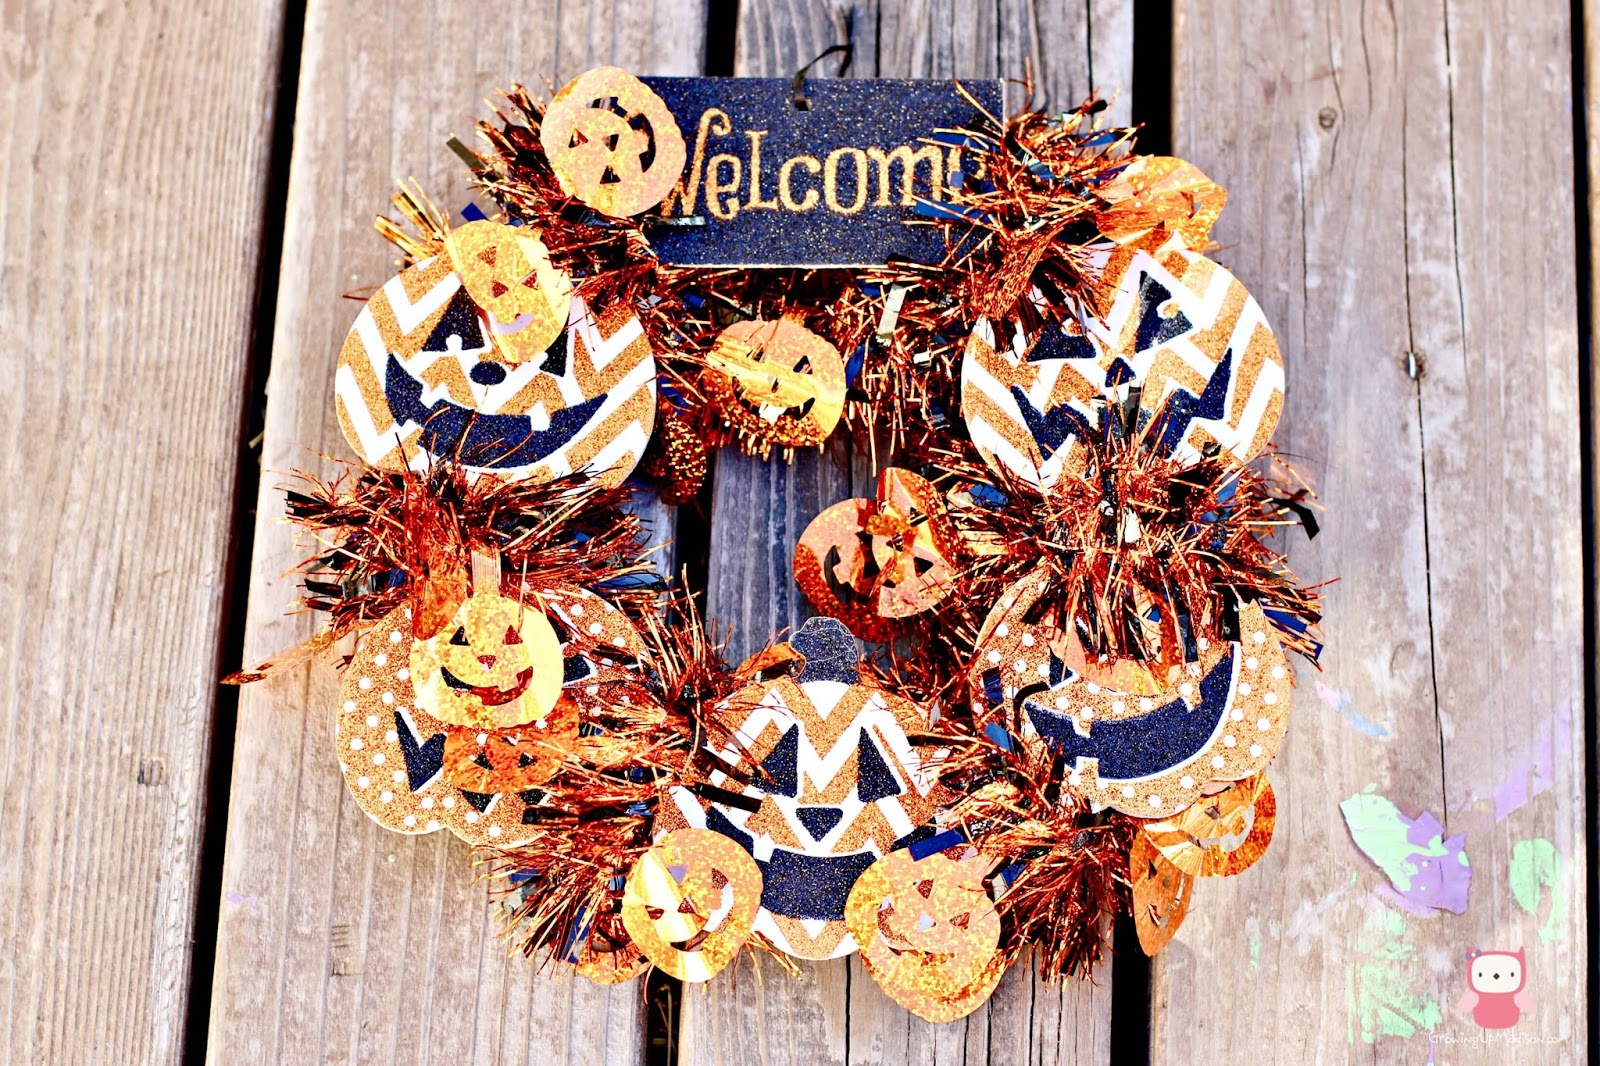
I get excited over Halloween. I get to dress up and pretend to be whoever I want to be. This year I am going to be Belle from Beauty and the Beast, and I can't wait to do so at Mickey's Not So Scary Halloween Party at Walt Disney World. That's right, my mom and I will be spending Halloween at Disney and I can't wait to get there. Mommy generally doesn't like pulling me out of school, but this is going to be a special event for me since I've never done Halloween at Disney before. I will be sure to share photos with you on my Instagram page, be sure to follow along. Anyway, let's talk about this Halloween wreath. Mommy and I went to the dollar store to pick up a few Halloween items and decided to use them for crafts. While mommy did a Witch Wreath, I decided to do something on a small scale. My Mini Halloween Wreath cost $3 and is perfect for little hands. Here's how it's done.

DIY Dollar Store Mini Halloween Wreath
Supplies Needed
Mini Wreath Form
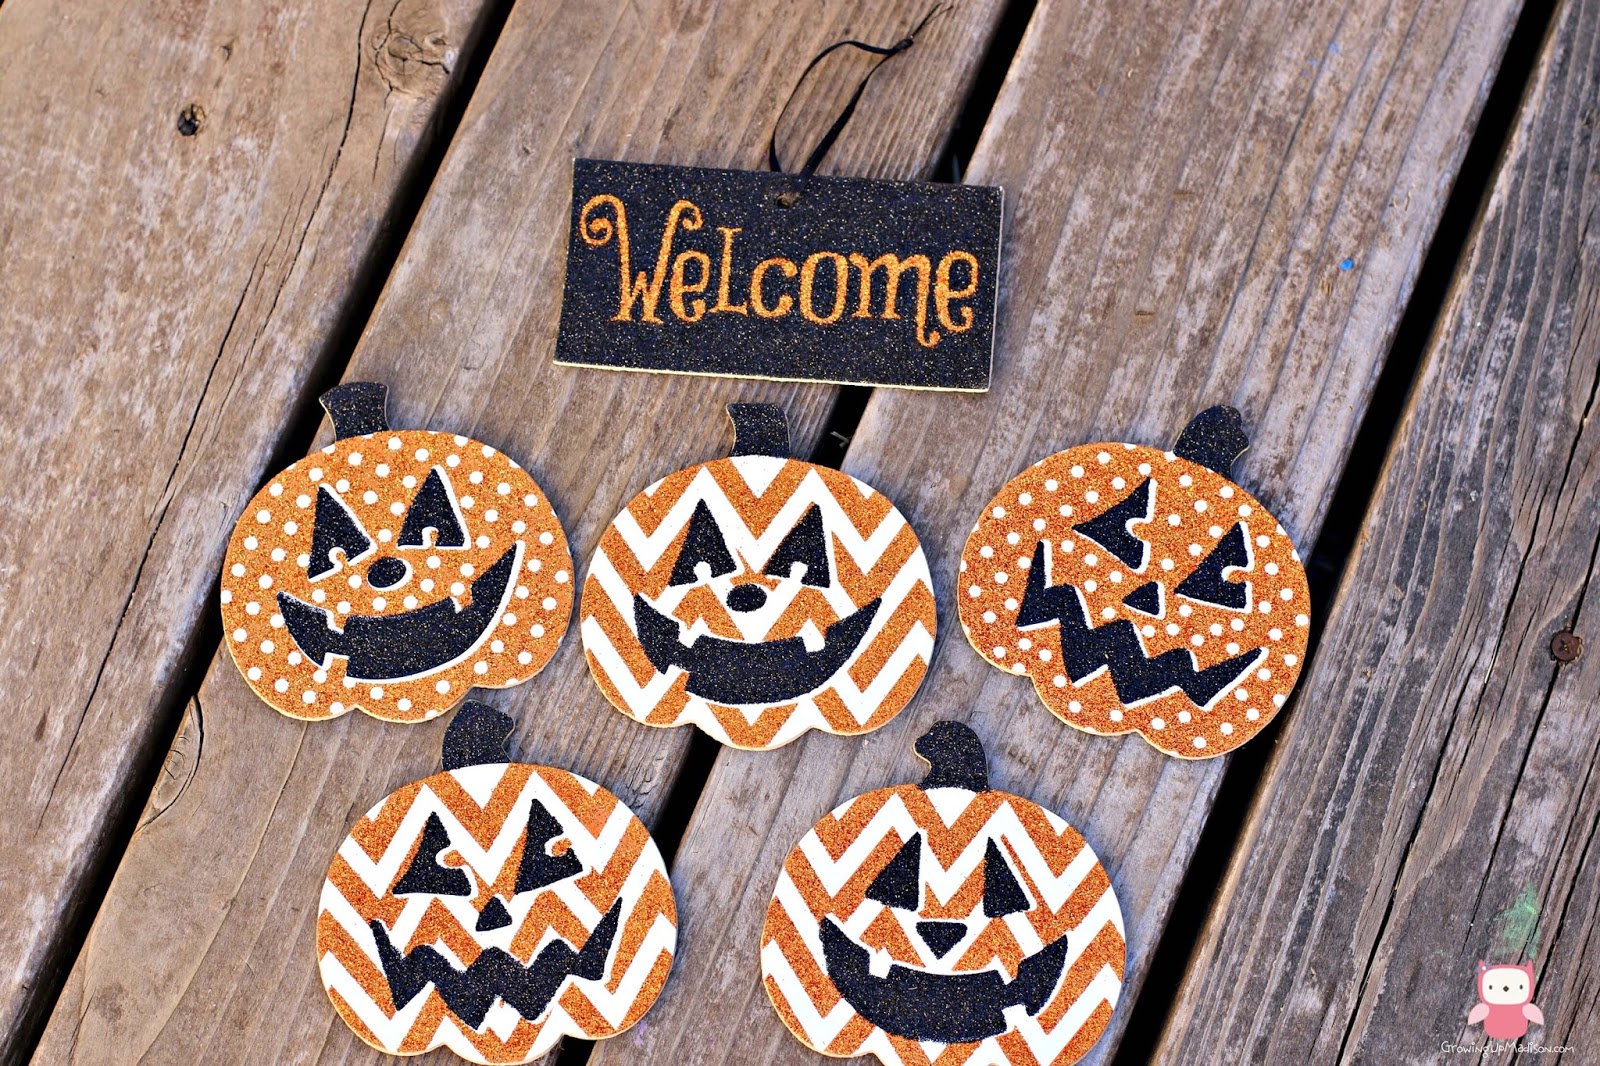
Halloween Pumpkin Welcome Sign
Halloween Tinsel
Glue Gun

Easy Step-by-Step Directions:
1. Cut the pumpkins from the sign so you have individual pumpkins. Be sure not to cut the string attached to the welcome sign as you will use that to hang your wreath.

2. Attach your pumpkins and welcome sign to your foam wreath with your glue gun.

3. Once your pumpkins are firmly stuck onto your wreath, use your tinsel and wrap it around your wreath in between the pumpkins to hide the green foam, and to give it a little bit more pizzazz.

That's it! Your Mini Halloween Wreath is done and now it's time to hang on your door and welcome all the trick-or-treaters.

HAPPY HALLOWEEN!


